
So, you’re ready to say goodbye to your trusty old computer and pass it on to a new owner? Congratulations! Before you bid farewell, it’s crucial to ensure that your precious data is wiped clean and your privacy remains intact. Selling your computer without clearing its memory can expose sensitive information to the wrong hands. Fear not, Tech Zones is here with a top-notch guide on how to clear computer memory like a pro!
To clear computer memory before selling, back up all important data to an external drive or cloud storage. Perform a factory reset to restore the computer to its original settings and erase all personal data. For added security, use data shredding tools to overwrite files with random data. Finally, reinstall the operating system for a fresh start, ensuring no traces of personal information remain.
Below we have mentioned everything in detail so get ready to embark on a journey to safeguard your data and make your computer sale-ready with our interactive steps. Protect your memories and secrets while ensuring a fresh start for the next user. Let’s dive in!
Tips to Clear Computer Memory Before Selling
Back Up Your Data
Before clearing your computer’s memory, it’s vital to back up all your important files and data. Create a comprehensive backup on an external hard drive, cloud storage, or a USB drive. Double-check that all your photos, videos, documents, and personal files are securely saved. This way, you won’t lose any cherished memories or essential data during the clearing process.
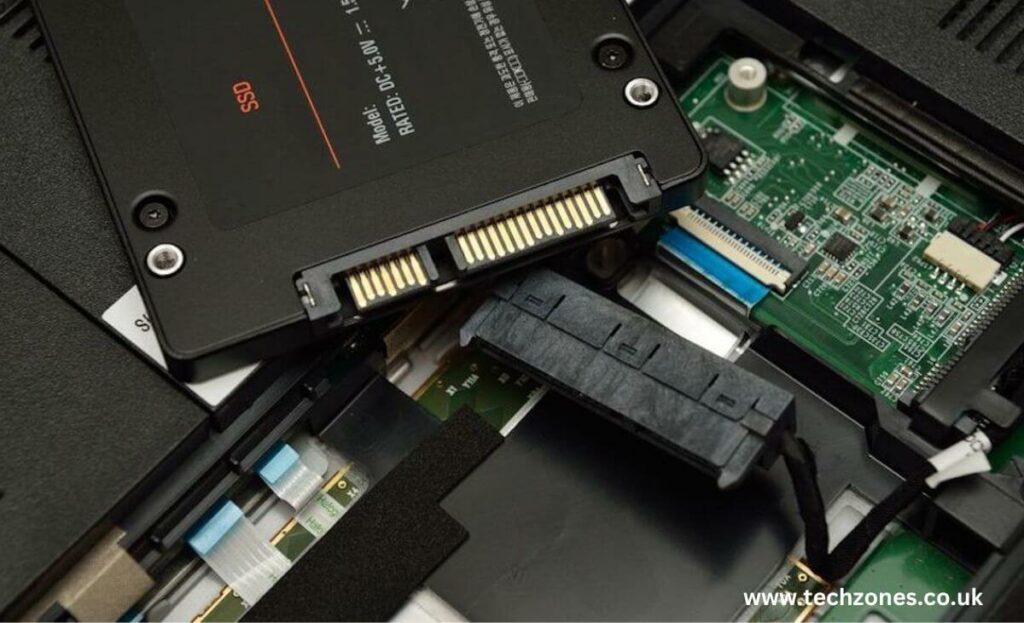
Clearing Your Computer Memory
- Factory Reset
A factory reset is the most common and effective way to clear your computer memory. This process restores your computer to its original settings, erasing all data in the process. On Windows, go to “Settings” > “Update & Security” > “Recovery” > “Reset this PC” > “Get started” and choose “Remove everything.” On Mac, go to “Apple menu” > “Restart” > hold down “Command + R” until the Apple logo appears > “Disk Utility” > select your hard drive > “Erase” > “Reinstall macOS.” - Data Shredding Tools
To ensure your data is unrecoverable, use data shredding tools or file erasers. These software applications overwrite your files with random data multiple times, making it nearly impossible to retrieve the original data. Popular tools include CCleaner, Eraser, and BitRaser. - Encrypt and Format
For added security, consider encrypting your hard drive before formatting it. This way, even if someone tries to recover the data, it will be unreadable without the encryption key. After encryption, perform a full format to completely wipe the drive. - Clearing RAM Cache
Clearing RAM cache in Windows by CMD refers to the process of freeing up system memory that has been allocated for caching purposes. Caching is a mechanism used by the operating system to store frequently accessed data in RAM, which allows for faster access times when the data is needed again
Double-Check for Leftover Data
After clearing your computer’s memory, perform a thorough check to ensure no residual data remains. Look for hidden folders, temporary files, and browsing history. Use reliable data recovery software to test if any deleted files are recoverable. If any traces are found, repeat the clearing process until your computer’s memory is squeaky clean.
Reinstall the Operating System
After clearing the memory, reinstall the operating system for a fresh start. This step ensures that your computer is free of any lingering software issues and that the next user enjoys a smooth experience. Follow the official instructions for your operating system to reinstall it from scratch.
Securely Dispose of External Devices
Don’t forget to clear memory from external devices like USB drives and external hard drives. These devices might contain sensitive information that needs to be wiped clean. Perform a complete format or use data shredding tools to ensure no traces of data remain on these devices. Additionally, consider encrypting the data on these devices for an added layer of security.
Keep Your Operating System and Software Updated
Before selling your computer, ensure that your operating system and software are up to date. Regular updates often include security patches and bug fixes, reducing the risk of potential vulnerabilities. Keeping your system updated ensures that the next user starts with the latest and most secure version of the software.
Create a Fresh User Account
After clearing your computer’s memory and reinstalling the operating system, create a new user account. This way, the next user can start fresh without any traces of your previous account or settings. Ensure that you log out of all accounts and delete any personal information associated with your previous user account.
Seek Professional Help
If you’re unsure about the clearing process or want to ensure maximum data security, seek computer repair professional help from a reputable tech service provider. At Tech Zones, our experts can guide you through the process, perform data wipes using industry-standard tools, and provide valuable insights to protect your data.
Conclusion
Congratulations, savvy computer seller! By following Tech Zones‘ expert guide, you’ve successfully cleared your computer memory and protected your valuable data. Now, you can confidently pass on your computer, knowing that your memories are safe and your privacy remains intact. Embrace the fresh start and make room for new technology adventures! Happy selling!