
In our fast-paced digital world, our trusty MacBook Airs have become more than just devices; they’re our go-to companions for work, creativity, and entertainment. But as we navigate through countless files, apps, and data, our system storage can get clogged up, leading to sluggish performance and reduced efficiency. Fear not, for there’s a solution! Clearing system storage isn’t just a mundane task; it’s a crucial step to rejuvenate your MacBook Air’s speed and responsiveness.
To clear system storage on your MacBook Air, assess your current storage usage through the About This Mac menu and ensure you’ve backed up important data. Next, delete unnecessary files by emptying the Trash, removing unused applications, tidying up the Downloads and Desktop folders, deleting language packs with tools like “Monolingual,” and trimming email attachments. Utilize built-in storage management options to clear caches and optimize storage, and consider offloading unused files to iCloud. Review and delete old Time Machine backups to free up space. Finally, restart your MacBook Air for the changes to take effect and marvel at your newly cleared system storage.
In this guide, we’ll journey through the ins and outs of freeing up precious space on your MacBook Air, helping you rediscover the thrill of a snappy and efficient machine
Understanding System Storage
Before we dive into the nitty-gritty of clearing system storage, let’s take a moment to understand what we’re dealing with. System storage isn’t just a digital dump; it’s where your macOS operating system resides, along with essential system files and caches. Over time, these files can accumulate and hog valuable space, causing your once-speedy MacBook Air to feel like running a marathon with a backpack full of rocks.
Step 1: Assessment and Preparation
Check Current Storage Usage: Just like looking at a map before a road trip, it’s a good idea to know where your storage space is being used. Click on the Apple menu, then select About This Mac > Storage. This will give you a bird’s-eye view of how your storage is divided among various categories.
Back-Up Important Data: Before we roll up our sleeves and dive into the cleanup, ensure our precious data is safe and sound. Create a backup of your important files using Time Machine or your preferred backup method. Better safe than sorry!
Step 2: Deleting Unnecessary Files
Empty the Trash: Remember that stuff you deleted? It’s still hanging around in the Trash, taking up space. Right-click the Trash icon and give it a good old Empty Trash kick to free up some room.
Bid Farewell to Large Apps: We all have apps we thought we’d use but never did. It’s time to Marie Kondo your Applications folder. If you haven’t used an app in eons, drag it to the Trash and wave it goodbye. Don’t forget to empty the Trash afterwards.
Tidy Up Downloads and Desktop: It’s easy for your Downloads and Desktop folders to become digital dumping grounds. Sort through these folders and be ruthless. Delete files you no longer need or, better yet, file them away neatly in appropriate folders.
Delete Language Packs: Some apps come with language packs you might not speak. These language files take up valuable space. Tools like “Monolingual” can help you identify and remove them without affecting the functionality of your apps.
Trim Mail Attachments: If you’re a heavy email user, your Mail app might be holding onto large attachments. Search for emails with hefty attachments and consider deleting them if they’re no longer needed.
Step 3: Optimizing System Storage
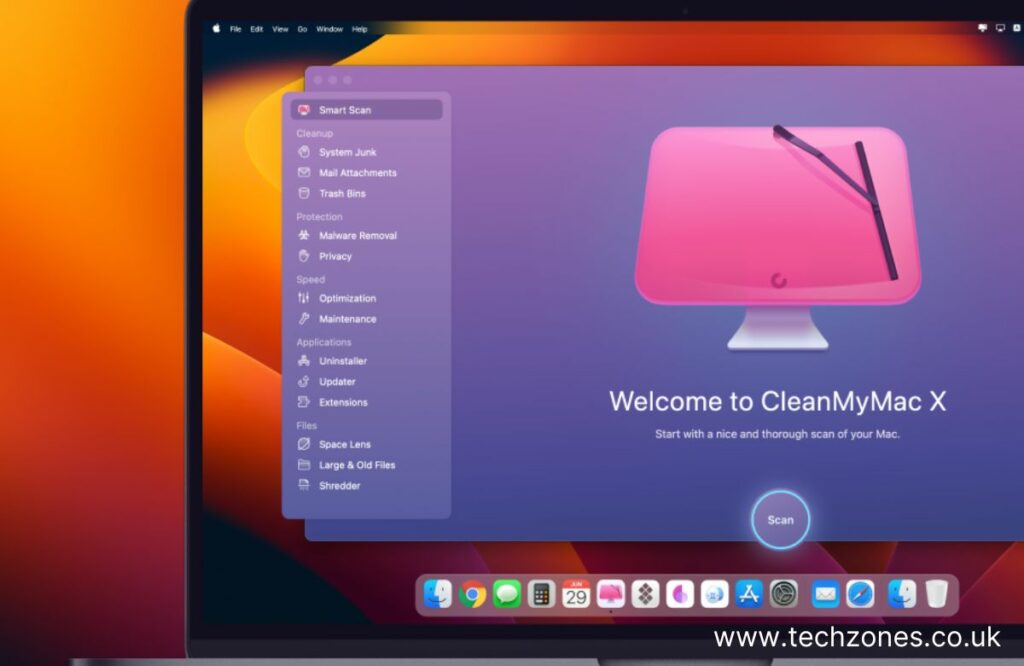
Built-in Storage Management: Apple has your back with a nifty tool. Click on Manage in the Storage window to find suggestions for optimizing storage. This might involve removing old device backups, clearing caches, and more. You’d be able to reduce system data on Mac, ultimately boosting your MacBook’s performance. One-click optimization? Yes, please!
Offload Unused Files: If your MacBook Air is gasping for space, iCloud can rescue you. You can store older, larger files in iCloud and keep only smaller versions on your MacBook. To enable this, go to the Apple Menu > About This Mac > Storage > Manage.
Clear Browser Caches: Your web browser stores temporary files called caches, which help websites load faster. But these files can become unwieldy. Go into your browser’s settings and clear those caches for a speed boost.
Step 4: Deleting System Backups
Time Machine TLC: If you’re using Time Machine for backups, those snapshots of the past can gobble up space. Regularly review and delete older backups you no longer need; you’ll have more room for your current escapades.
Step 5: Finalizing the Cleanup
Reboot for Good Measure: Now that you’ve done some digital decluttering, give your MacBook Air a fresh start by restarting it. This helps all those changes sink in and sets the stage for smoother performance.
Bask in Your Storage Glory: Return to the About This Mac > Storage section. Marvel at the freed-up space. Congratulations, you’re now a storage wizard!
Ready to optimize your MacBook Air’s performance? Look no further than Tech Zones! Our expert technicians specialize in Macbook repair, ensuring your device runs at its best. Say goodbye to sluggishness and hello to seamless multitasking. With a deep understanding of macOS intricacies, we’ll efficiently declutter your system storage, giving your MacBook Air the rejuvenation it deserves. If you want the experts to clean up a MacBook so it runs faster, Tech Zones has no parallel.
Conclusion
Your MacBook Air isn’t just a device; it’s an extension of your creative and productive self. Keeping its system storage in check is like maintaining a clean workspace – it enhances your efficiency and overall experience. Following this comprehensive guide taught you the art of decluttering, optimizing, and revitalizing your MacBook Air. Regularly tending to your digital haven will ensure you continue to soar through your tasks and pursuits without being weighed down by unnecessary storage woes. Happy computing!
For more information, contact us or visit our website.